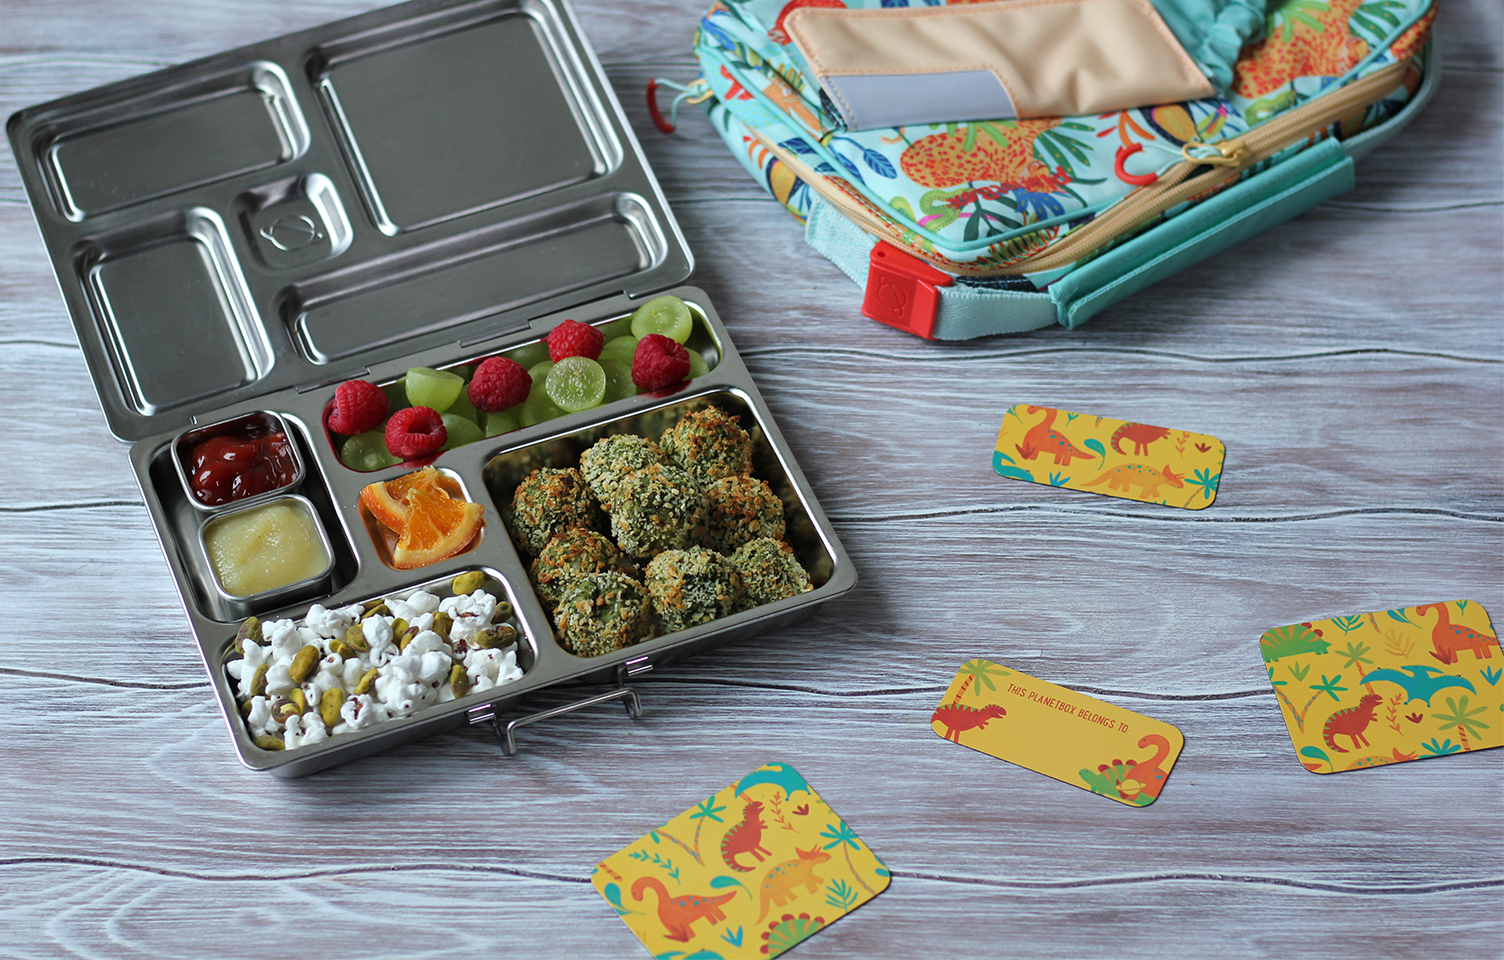
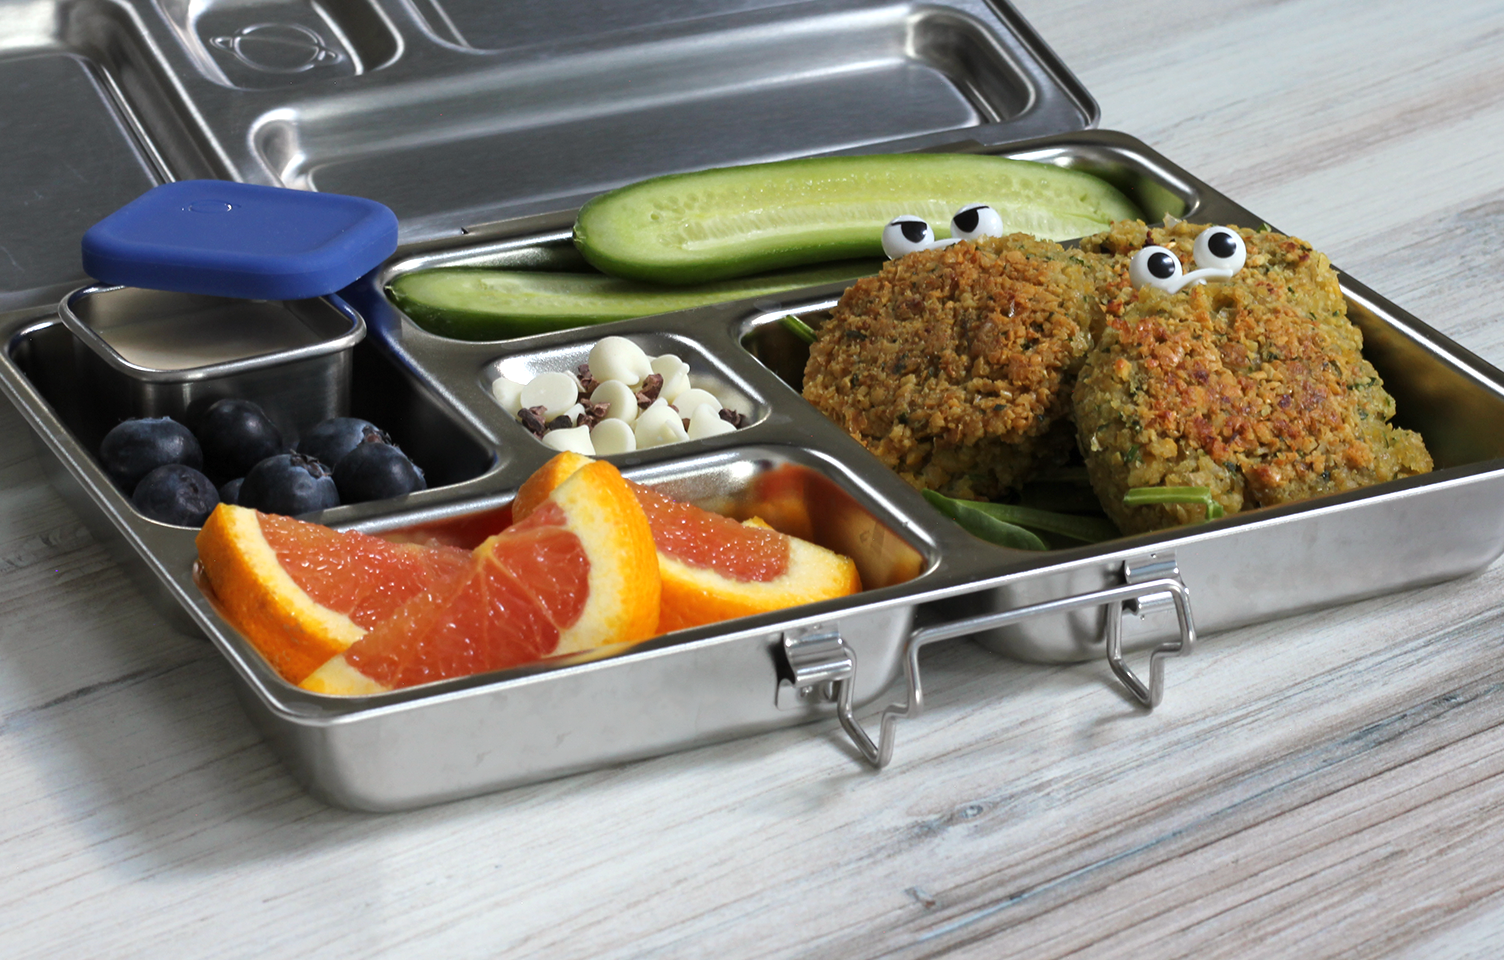
Who said you can't play with your food? If 2020 has taught us anything, it’s that creativity can be found anywhere, and for us that’s in the kitchen. These recipes remind us of all things winter, some with an added boost of nutrition to boot!
BLIZZARD BREAD
Can’t hit the slopes this winter? Bring them to you with this wintry bread, topped with a fluffy white whipped cream cheese spread. Add some berries for an extra burst of antioxidants!
INGREDIENTS:
- 1 1/2 cups flour
- 2/3 cup water
- 1 tablespoon sugar
- 1/2 teaspoon salt
- 1 teaspoon dry yeast
- 1 tablespoon butter
- Food coloring
DIRECTIONS:
- Preheat oven to 100 degrees or lowest setting.
- Combine all ingredients (except food coloring) and mix until a dough is formed.
- Separate into 3 pieces and color each with a different color- have fun with it! Knead as you mix!
- Shape each piece into a cylinder and flatten into a rectangle using a rolling pin.
- Stack the 3 pieces atop each other and roll it up.
- Place roll into a greased loaf pan, seam side down.
- Bake for 45 minutes.
- Increase oven temperature to 350 degrees, cover bread, and bake for another 30 minutes.
- Cool and cut into slices.

Battle germs this winter with your own homemade gummies made with a few simple ingredients and in the shape of your choice. Staying healthy doesn’t get any easier than this! Here’s two variations of immunity boosting gummies that will help fend off sniffles all winter long. You can use a baking dish and cut the gummies into squares or use silicone candy molds for fun shapes.
Makes: 30-40 gummies
VITAMIN C BOOST INGREDIENTS:
1 cup fresh orange juice
2 tablespoons raw honey (try local for additional antioxidants + allergy protection)
2 tsp vitamin C powder (optional)
4 tablespoons gelatin powder
ANTIOXIDANT BOOST INGREDIENTS:
1 cup pomegranate juice
2 tablespoons raw honey
⅓ cup raw unfiltered apple cider vinegar
4 tablespoons gelatin powder
DIRECTIONS:
-
Heat juice and honey in a saucepan over low heat. Whisk 1 tablespoon of gelatin into mixture at a time until it is fully dissolved.
-
Mix in any additional vitamin powder if using or apple cider vinegar.
-
Let cool for 5 minutes before pouring into silicone candy molds.
-
Cool gummies in the refrigerator for 1-2 hours before removing from molds.
-
Store in an airtight container in the refrigerator for up to 2 weeks.

An iconic comfort food, meatloaf is an easy one-bowl recipe to get your kids involved in the kitchen. This one’s loaded with hidden veggies like carrots and mushrooms ensuring your kids will get their zinc and vitamin A for added immunity and their vitamin D fix to make up for the shorter daylight hours.
Makes: 8 mini loaves, (4 x 2.5 inch loaves)
INGREDIENTS:
-
1 pound ground beef
-
2 small onion, chopped
-
2 medium carrots, shredded
-
½ pound mushrooms, minced
-
1/2 cup vegetable broth or chicken broth
-
1/2 teaspoon salt
-
1 large egg
-
1 cup bread crumbs
-
1/3 cup ketchup
-
1 cup shredded mozzarella cheese
DIRECTIONS:
-
Preheat oven to 350 degrees.
-
In a large bowl, combine all ingredients except mozzarella. Use your hands to blend all of the ingredients.
-
Grease a mini loaf pan and pack the beef mixture into each section.
-
Bake for 1 hour.
-
Pour off any excess grease and top with shredded cheese. Bake for another 5 minutes to allow cheese to melt.
-
Let rest before serving.

Just like the toy, but you can eat it! We love sweet potatoes because they’re well...sweet...and just one cup satisfies half of your daily vitamin C needs. Use your Rover Tray and Dippers to lay out all the ingredients and let your taste buds have some fun!
INGREDIENTS:
Sweet potatoes
SWEET FILLINGS:
Nut/seed butter
Jam
Coconut
Berries
Banana slices
Nuts
SAVORY FILLINGS:
Scrambled eggs
Spinach
Tomatoes
Peppers
Olives
Beans
Pesto
DIRECTIONS:
-
Preheat oven to 400 degrees.
-
Pierce sweet potatoes with a fork in several spots.
-
Bake for 40-50 minutes until tender. Let cool to room temperature and cut each potato in half.
-
Scoop out some of the flesh to make room for the fillings.
-
Assemble potato heads to your liking!

Better known as pizzelles, these cookies make winter so much more delicious. A pizzelle iron is an inexpensive investment that will keep you occupied with endless treats.They can be eaten as is, dipped in chocolate, or even rolled into taco shells or cannoli shapes for stuffing. Try adding flavored extracts or cocoa powder too!
Makes: 24 cookies
INGREDIENTS:
2 cups flour
1 cup sugar
¾ cup butter, melted and cooled
4 eggs
1 tablespoon vanilla extract
2 teaspoons baking powder
-
Mix all ingredients in a bowl.
-
Preheat pizzelle iron and spray with cooking spray.
-
Measure out rounded tablespoons of batter and place on center of pizzelle round.
-
Close iron and bake 30-60 seconds (experiment with how browned you prefer).
-
Remove each pizzelle with a nonstick spatula and rest on a cooling rack. If you’re rolling the pizzelle, remove one at a time from the iron and roll around a wooden dowel or rolling pin. Work quickly before it cools!
-
Let cool and dust with powdered sugar, dip into chocolate, or fill the rolled pizzelle with your favorite toppings.


Leave a comment
This site is protected by hCaptcha and the hCaptcha Privacy Policy and Terms of Service apply.